Saturday, December 29, 2012

Big Kitty: Tiger II

Finally, I added one big kitty to my collection of minis. It is a Panzerkampfwagen Tiger Ausf. B, which is btw often wrongly referred to as King Tiger or Royal Tiger (a very interesting story).

I have to admin that I wasn't a big fan of Tiger II tanks in FOW. Usually, expensive and useless. However, it turned out that Tiger II fits very well to my gepanzerte panzerpioniers company. I hope it will be even more usable once I replace the StuGs with a platoon of Marders. I think they will synergize well together. Tiger II is a great weapon for cleaning the assault path from panthers and other heavy tanks, while marders give quantity when defending against hords of light and medium tanks.

I bought a Tiger II model produced by Battlefront - the box set (GBX14), which contains two types of turrets - design by Porsche and Henschel. In addition, you will also receive one Tiger Ace skill dice.

Generally, the model is beautifully sculpted. However, there is one thing that guys from Battlefront should definitely rework - the fenders. Their parts just don't fit each other. If you want to attach them to a model (they are quite characteristic element of the Tiger II silhouette) you will have to play with green stuff to make it work. As you see below, I decided to forget about the fenders...


And finally, long awaited size comparison with the FiB version of Tiger II (thanks to elcee).
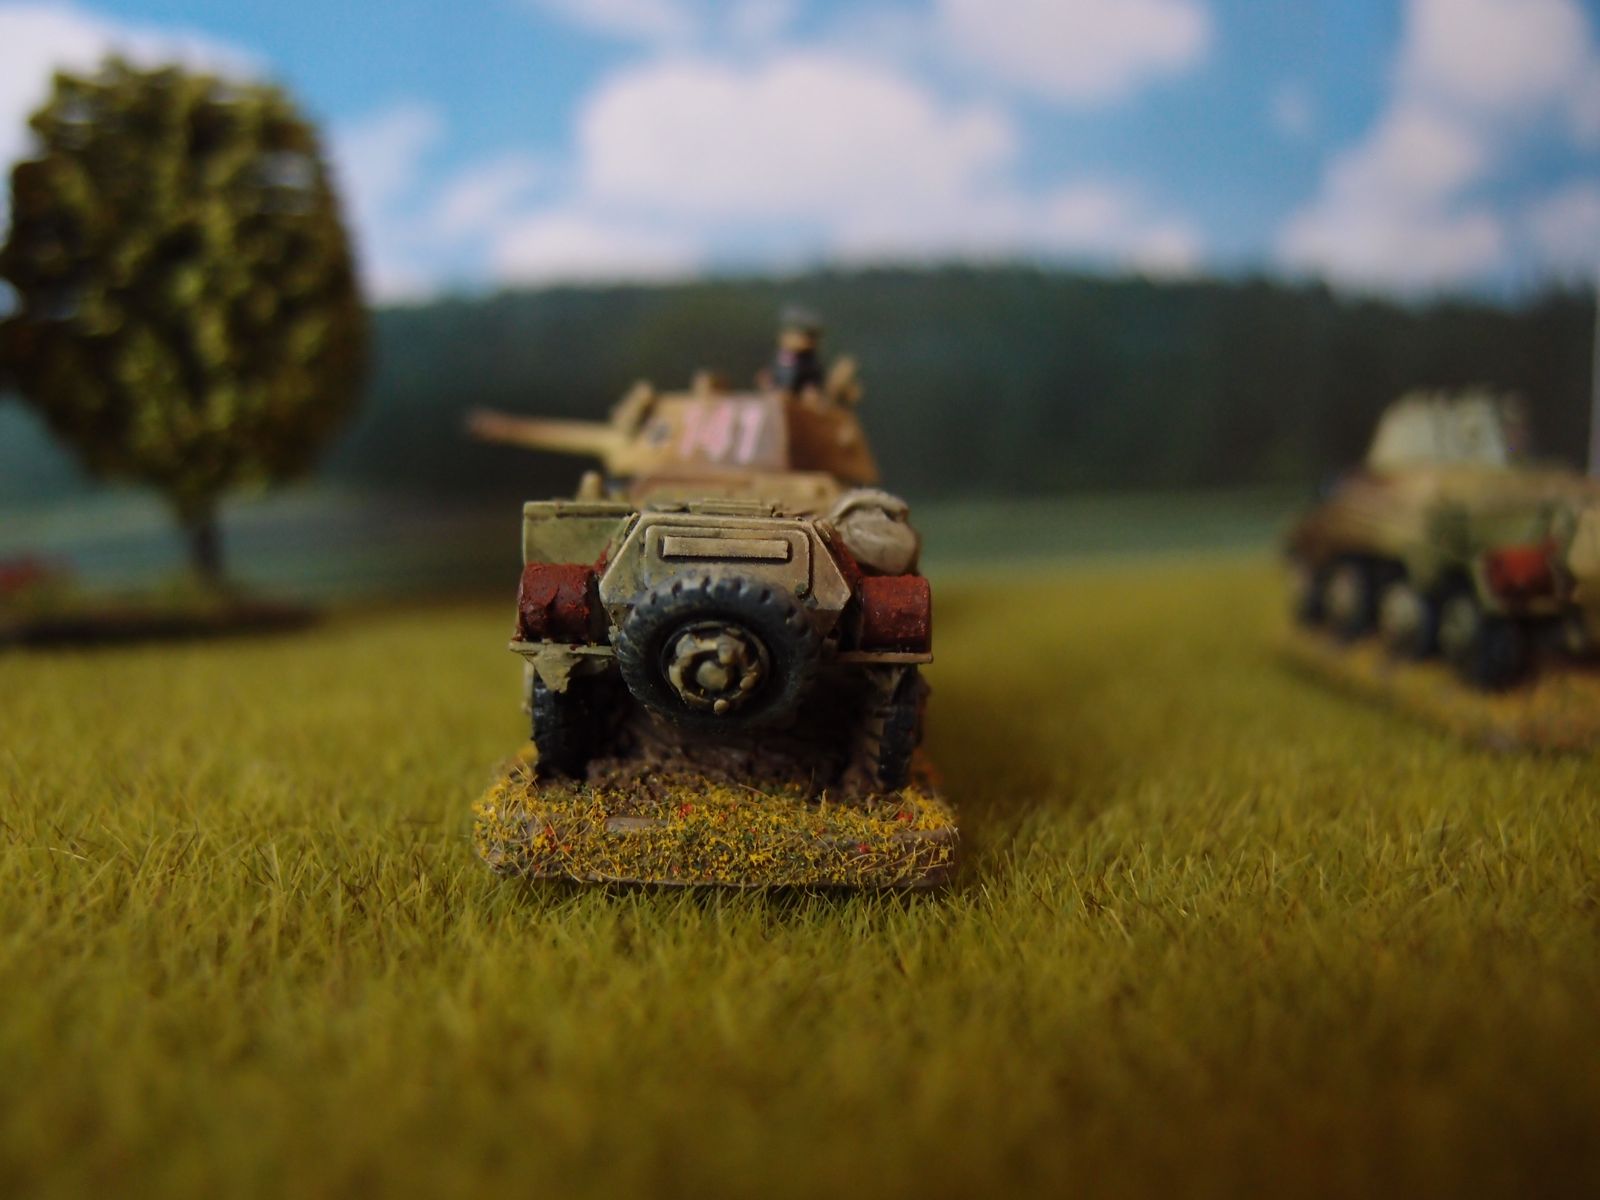

Gallery

As usual, couple of photos of finished model... You will find more in the gallery section.


Saturday, November 24, 2012

FiB: SdKfz 234/2 Puma

Today, I would like to briefly review a set of SdKfz 234/2 Pumas. These little kitties are frequently used by German players in Flames of War. They provide excellent firepower as for an armored car, great mobility, and still recon abilities. I bet there are more models on players shelfs than have been ever produced and used in combat (I think only 101 were produced between 43 and 44).
Although Pumas are great in FoW they were not as successful in WWII mainly because of they armament. It was really tempting to smash some light tanks and soft vehicles with the powerful 50L60 gun. This is for sure not the aim of recon vehicles...
The models I have in front of me were produced by Forged in Battle (FiB) and are casted in resin with some metal parts (P-77). I painted them in ultra-fast way because of the tournament we had last week (there is no better stimulus to paint minis than forthcoming tournament ;).

Blister contents

The blister contains three Pumas. They are produced in "battle-ready" system. It means that FiB tried to reduce the time required to assemble the models. The number of parts is reduced in comparison to Battlefront miniatures. The body is casted in resin and the turret is made from metal. The drawback is that the models are fixed to bases (removing it would be quite difficult, but I assume possible). At the beginning I perceived it as a huge cons, but after assembling and painting the models it turned out that it is only a minor issue. "Battle-ready" means also that the models are produced in different variants (e.g., they have battle damage, crates, cans, etc.) so you don't have to add additional element to customize them. It is quite similar to what could be found in Battlefront's box sets. In my blister there were two variants of vehicle. You also get two commanders figures, which are sculpted and casted perfectly.


Model size

Probably most of you would like to know how they compare to Battlefront's version of Puma. In my opinion the difference is quite visible. However, if you don't play a recon company and don't need to mix tons of Pumas, it will not matter so much. A FiB blister gives you what you actually need in most cases - 3 vehicles. If you put grass on a base it won't be visible so much after all. Taking into account prices you receive three vehicles in price of two from BF.

Thanks to Radek (a.k.a. Radziecki) who provided a BF Pumas, I  can present you a size comparison of BF and FiB vehicles.

Battlefront vs. Forged in Battle Puma
There is a visible difference, especially in length (FiB is also a little bit higher). What surprised me the most was that they both have guns of the same length. The BF's is more bulky and looks like it was longer. I think that if you put BF's Pumas on bases and paint them uniformly with FiB's, there won't be much problem to mix them together in different platoons.

Gallery

Couple of photos of painted models:


Sunday, October 21, 2012

Pyry Wojny 2012 - Tournament

Today, I had a pleasure to participate in a local tournament called "Pyry Wojny 2012". There were around 13 players (I'm not sure what was the exact number). The organizers proposed a non-typical format, which was 1450 points. This enforced players to reconsider their orders of battle. As a result nearly all of them decided to play with armor companies (I was probably the only exception to that rule). The most popular tank was... and here comes a surprise ... a King Tiger!

We played three battles: counterattack, surrounded, and free for all. I think that scenarios were well suited for such a small number of points. None of them had a standard reserves rule, so we didn't have to bother about the odd number of platoons so much.

My first battle was with the German panzer company. My opponent had a platoon of panthers, panzer IVs, StuHs, AA quads, and Pumas. He provoked me to move towards one of my unmanned objectives from the first turn. I forgot that the mission could be won by the attacker only after the 6th turn. Well, it finished bad form me. I lost badly.

The second battle was the surrounded mission - a nightmare for defender in my opinion. I was facing another German panzer company. This time reluctant trained company from Blood, Guts and Glory. It was a sea of panthers (I guess 7 of them), two platoons of panzer IVs. I was lucky to hold long enough to win the battle.

The last battle, a free for all, was against the schwere panzerkompanie. Two King Tigers, Otto Carius with another Tiger, and a platoon of Panzer Grenadiers. I was a little bit tired after heavy battles, and decided to push as much as I could from the beginning. Unfortunately, my start was not impressive at all. I lost nearly half of panzerpionier platoon going under heavy fire from tigers. I have to admit I was lucky from that point on. My Stukas destroyed Carius Tiger (even with re-rolls for one plane and ranging in because of buildings). Stugs were lucky to bail out a King Tiger by hitting it from a flank, and panzerpioniers successfully assaulted the remaining Tiger.

That's all. I would like to thank the organizers for the event,  and my opponents for enjoyable games. See you at the next tournaments.

Link to the full gallery


Thursday, September 13, 2012

Scenic bail out and bogged down markers

As a fan of Steel Panthers computer game there is one thing I missed so much in FOW - the view of shocked crew running away in panic from their machine under heavy fire... In FOW we use tokens to mark crews that decided to temporarily give up their duties or vehicles that broke down. Wouldn't it be nice to have a scenic version of such markers? Why not?

Today I would like to give you a short report from making a bunch of such scenic markers for my German forces.

Bail out 

Making bail out markers is straight forward thanks to Battlefront's dismounted crew sets (e.g., German dismounted tank crew GSO196). All you have to do is to place couple of these guys on a nice base.

It is also a good idea to paint edges of the base to clearly mark that it is a marker and not a regular infantry base. For bail out markers I decided to paint red-white stripes. You can see the results in photo on the right hand side and couple more photos in Gallery at the end of the post.

Bogged down

When it comes to bogged down markers there is no ready to go solution in Battlefront offer. There is more room for new ideas :)

I decided to create three types of such markers:
  • track repairing - guys trying to repair the track of a tank;
  • rocky area - your vehicle came into a pile of rocks and one of the crew members has to navigate it back to the safe ground;
  • too much mud will make you stuck - a simple universal marker.

First of all we need to prepare some spare parts of vehicles and crew members. Probably all of you have many of these things that were not used.


Now it is time to convert figures, so they look more like tank crew members. I used the German soldiers from the artillery group and swaped their heads with tank commanders from tank blisters.


Now, it is time to plan the layout... For the mound of mud I decided to use a piece of foam to model the shape, because it should make an impression that vehicle stucked in mud for good.


Now, it is time for basing. Standard procedure. Sand plus PVA glue. To model mud I use the sand from sea side beach. It has really tiny grains.


Base coat with chocolate brown and dry brush with beige brown and german cam. beige.


A little bit of oil-paints wash (a mixture of black and brown)...


Mud effect. I decided to model clay mud. For that purpose I use Vallejo natural sienna pigment. The process takes two stages. First, I mix the pigment with the matt varnish and goes all around. When it dries it looks like dry clay. At the top of the mound I would like to have fresh wet clay. The solution is simple. Mix pigment with gloss varnish and apply it only on the top of the mound.


And this is how the markers look just before painting the edges to black-yellow stripes...


Gallery

Couple of ready to use markers...