Showing posts with label Review. Show all posts

Wednesday, July 23, 2014

4Ground: 15mm Terrace Type1

As our Lenino to Berlin campaign proceeds into urban area of Eastern Poland, we needed to quickly collect some new terrain features (mainly buildings) for our 15mm urban table.

Neither me nor Kondziu has enough time to paint buildings nowadays, so we started to intensively looking for some pre-painted and reasonably priced buildings. Initially, I was thinking about resin models, however, once I saw laser-cut stuff from 4Ground I knew it would be our choice. At this point of the review I have to place a disclaimer - I wasn't paid and I didn't receive anything from 4Ground, dot. Just in case you may think it is an advertisement ;)

To pimp our table in one shot, we decided to buy couple of sets from 4Ground, I will review them in the forthcoming posts:
The models belong to the Europe at War series. As you see our order was quite impressive ;) I have to praise 4Ground for the service. They sent the parcel via UPS! We got it within a week of time.

I have to admit that once we received the shipment two things came to my mind - the first one - ooh man, the buildings are more beautiful than I thought, uuuuh I thought they will have less parts to glue.

I started assembly from the 15mm Terrace Type 1 model. I have to admit that I hadn't had so much fun with modeling since my early childhood, when I assembled many paper models of ships.

The design of the model is incredible. Each convex element is made from a separate part. As you can imagine, this makes a huge number of parts altogether. Fortunately, they fit each other perfectly (OK, almost perfectly in one case). It won't take you more than hour or two to assemble the set.

The building consists of three sub-buildings in one line. Let's follow the assembly of the buildings. I think it will give the idea of how nice they are ;)

First of all, the assembly guide is very good - it shows the process step by step.

It's time to build the ground floor and the passage.

The walls are made from two layers. The inner one has windows, doors, etc.

The outer layer has texture and details.

The assembly of the first floor is similar.

The upper floor consists of the base and three parts of the roof. The piece on the right was the only one that didn't fit very well to the roof piece.

It's almost ready...

Finally, windowsills and jambs.

This is it. Isn't it beautiful?


Monday, July 21, 2014

Skytrex - Command Decision: 15mm Infantry and guns review

I'm sure that many of us from time to time look for some alternative providers to Battlefront, although they provide great minis in 15mm. We do it either to make our small armies unique or just because of budget issues.

Today, I would like to share with you a short review of Command Decision miniatures available from Skytrex. The motivation of buying these minis was quite the same as with previously bought QRF models. We recently play lots of Battlegroup Kursk (BGK) games and I needed to adjust my Flames of War set of minis to fit  BGK rosters. This is how I found Skytrex miniatures.

During our recent Lenino to Berlin campaign I had an opportunity to play infantry formations for the first time in BGK. It revealed that in my collection I lacked AT and infantry guns. I only had PaK40s, which are quite expensive in BGK.  I wanted to add a famous PaK38 and the prettiest infantry gun I've ever seen - 7.5 cm leichtes Infanteriegeschütz 18. I didn't need a whole batteries of those guns, so I started to look around to find some cheaper options. And this is how I found these two sets:
The price is reasonable (6 GBP), however, you get only the guns without crew. What delighted me the most, was that one of the guns in the set is in limbered position (wohaa!).

The 75mm guns are casted as single pieces. Their limbered and unlimbered positions are the same. The PaKs 38 has a lovely feature. Its carriage is casted as a single piece and the gun with the gun shield as another one. This makes it possible to have the gun rotating its gun shield a bit - that looks great. I used a small magnet to make it detachable. Great piece of work Skytrex- really!


The second set I bought was the CD GS05 Panzer Grenadier Platoon HQ 43-45. I needed them mainly because of the Panzershreck team and 5cm mortar. I used the rest of the minis to create one more base of platoon command.
The minis are very nice - especially their poses. The guy with binoculars is the killer one... The only drawback was the Panzershreck itself. It was a little bit too short. I decided to add some combustion fumes made with greenstuff to make it look reasonable.


The third blister was the CD GS16 Light Machine Gun Teams. It consists of three LMG teams. This is the main adjustment you will have to make to switch from FOW to BGK. Each German Squad is divided into two units: 5 men standard team and 3 men LMG team.

A mixture of CD and Battlefront's figures
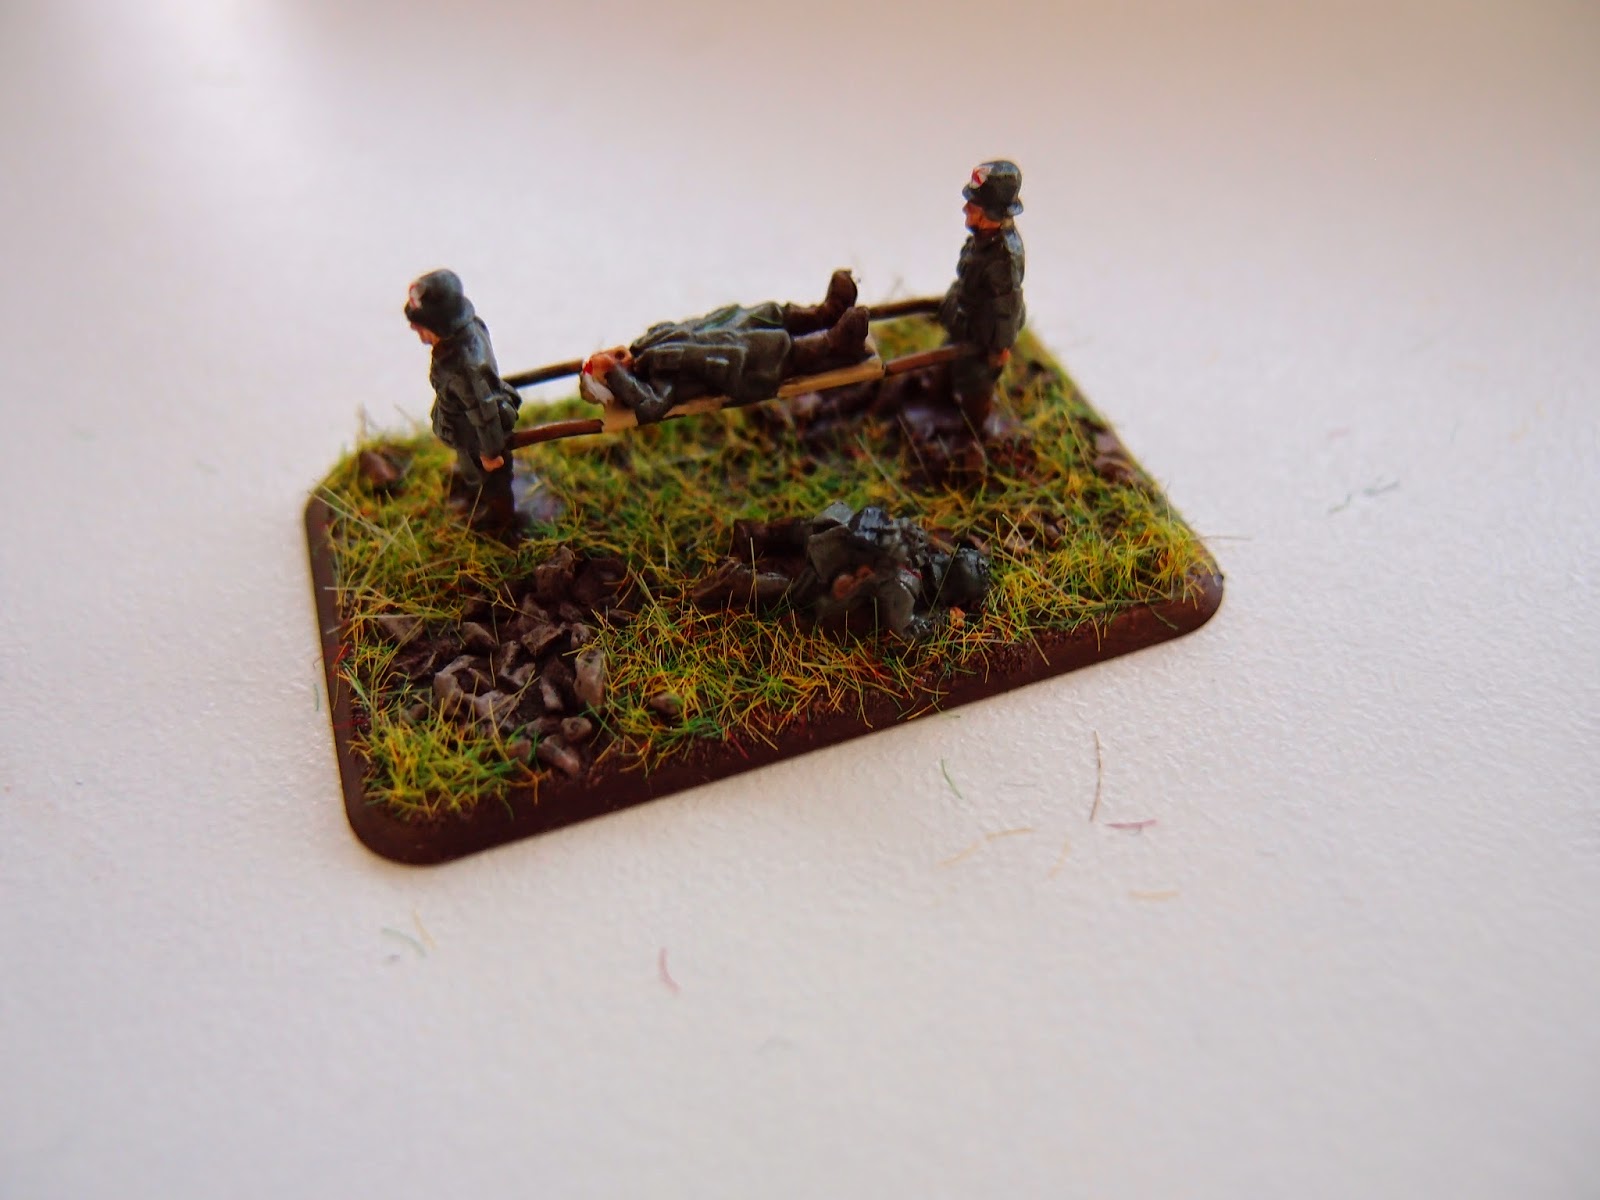
Finally, the CD GS22 Stretcher Bearers & Casualties. This is a true eye-candy. I don't know if I will ever use them in the future (yes, in BGK you can!), but I just had to take them together with the rest of figures. I also used the wounded guy to make a medic base.


Medic - made from FiB and CD (wounded) figures
To sum up, I have to say they are very nice minis in 15mm scale. They have really nice (uncommon) poses and they are clearly casted. When compared to Battlefront's I would say they are less bulky, so they probably shouldn't be mixed on the same bases with BF minis. However, you can easily mix bases if they stand next to each other.


Saturday, February 8, 2014

Project Gulaschkanone: 15mm Field Kitchen Objective Marker

I think that most of us enjoy seeing some scenic objective markers on tables. Many of them are real eye candies that often show different side of battlefront life - usually with a little bit of humor. 
It has been a while since I started to think about such projects myself. Finally I got it!
Initially, I thought that my idea for a marker was pretty original, but it quickly turned out that it is quite a regular topic (however, I haven’t seen such marker at any table I've played so far). What was the idea - a field kitchen! That theme really gives you as a modeler a huge space for experimenting. 
I decided to build a diorama showing a German field kitchen a.k.a. Gulaschkanone. The name comes from its shape while being towed - the chimney was disassembled and transported horizontally making it look like a cannon.
Unfortunately, I couldn’t find any model in 15mm scale, so I even started to collect pieces and bits from different models to scratch-build it. After some time, it turned out that QRF has one in its range. I was really happy that I didn’t have to sculpt it myself.

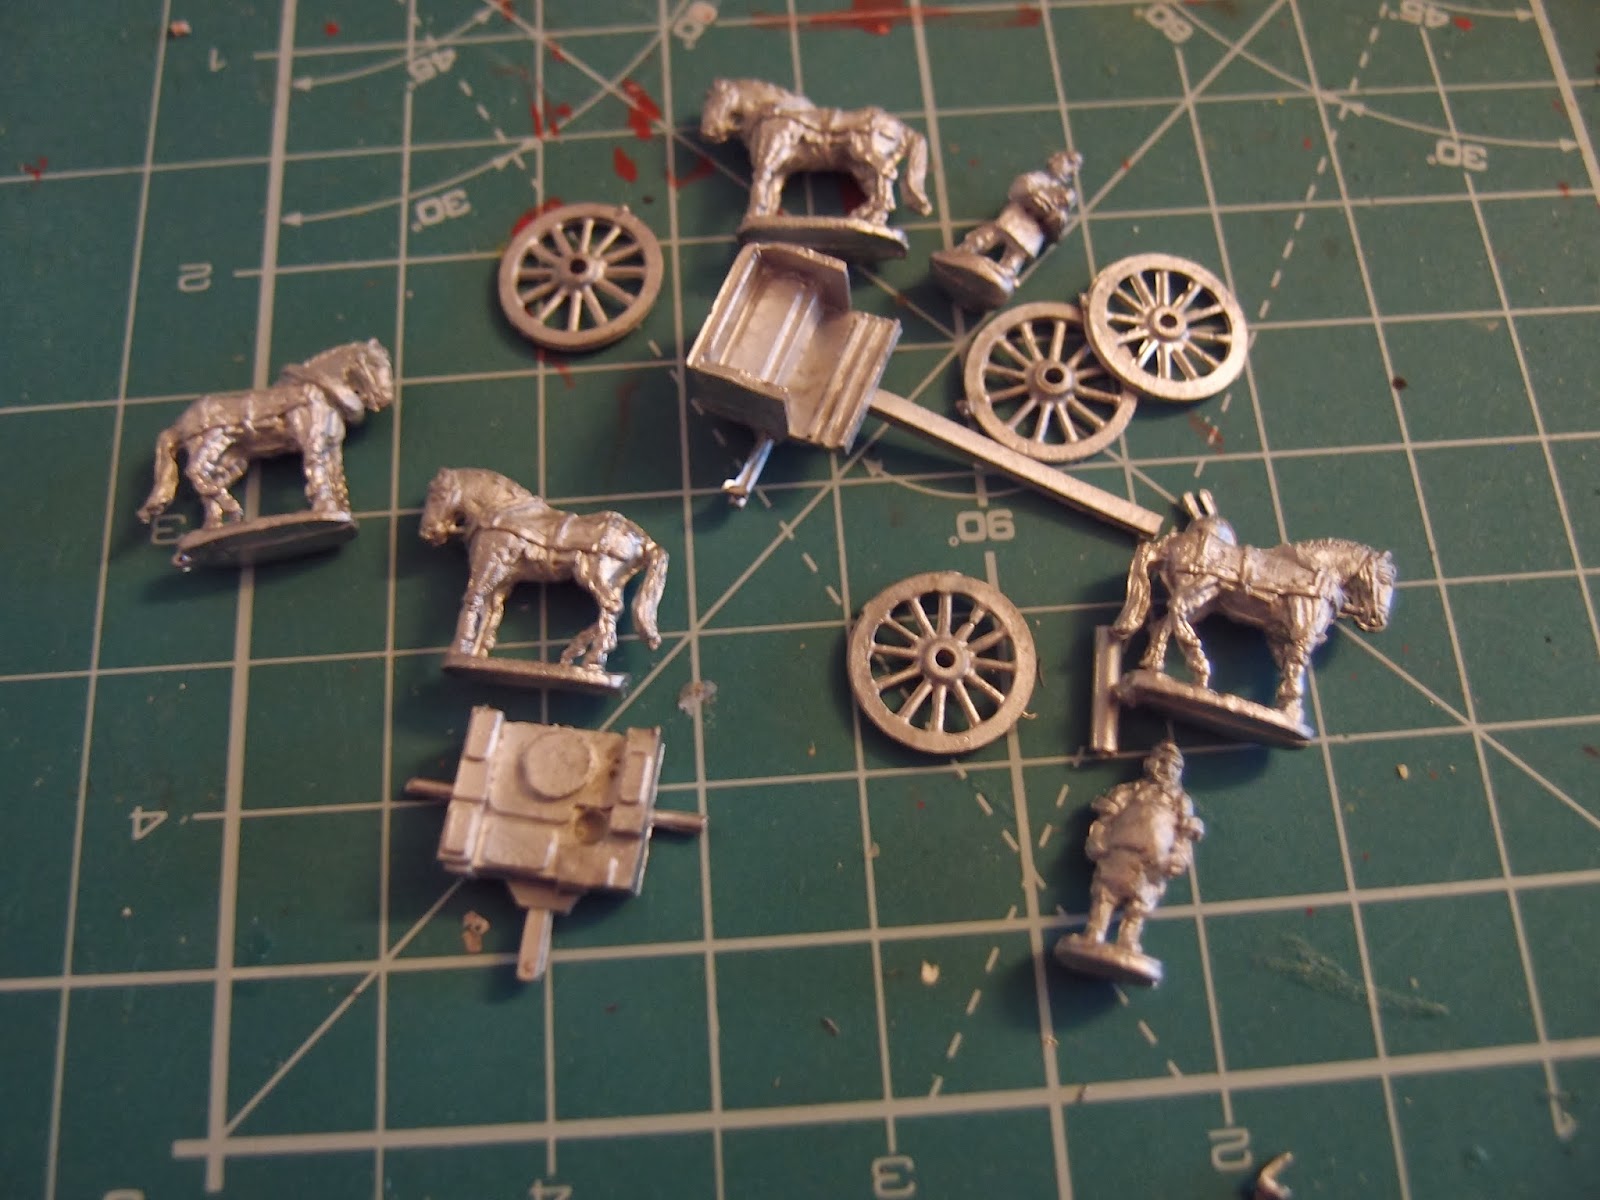
QRF GSV16 Field Kitchen

The model is a piece of art. It is beautifully sculpted; the casting is also very good. For the price of 5 GBP you receive a whole set containing the kitchen itself with the front cart, four horses and two cooks (one is very well fed ;). The model is close to the original kitchen, however, one piece of the front cart is missing (a kind of shelf at rear used to transport milk/water containers).  Fortunately, it wasn't a problem to add it myself.


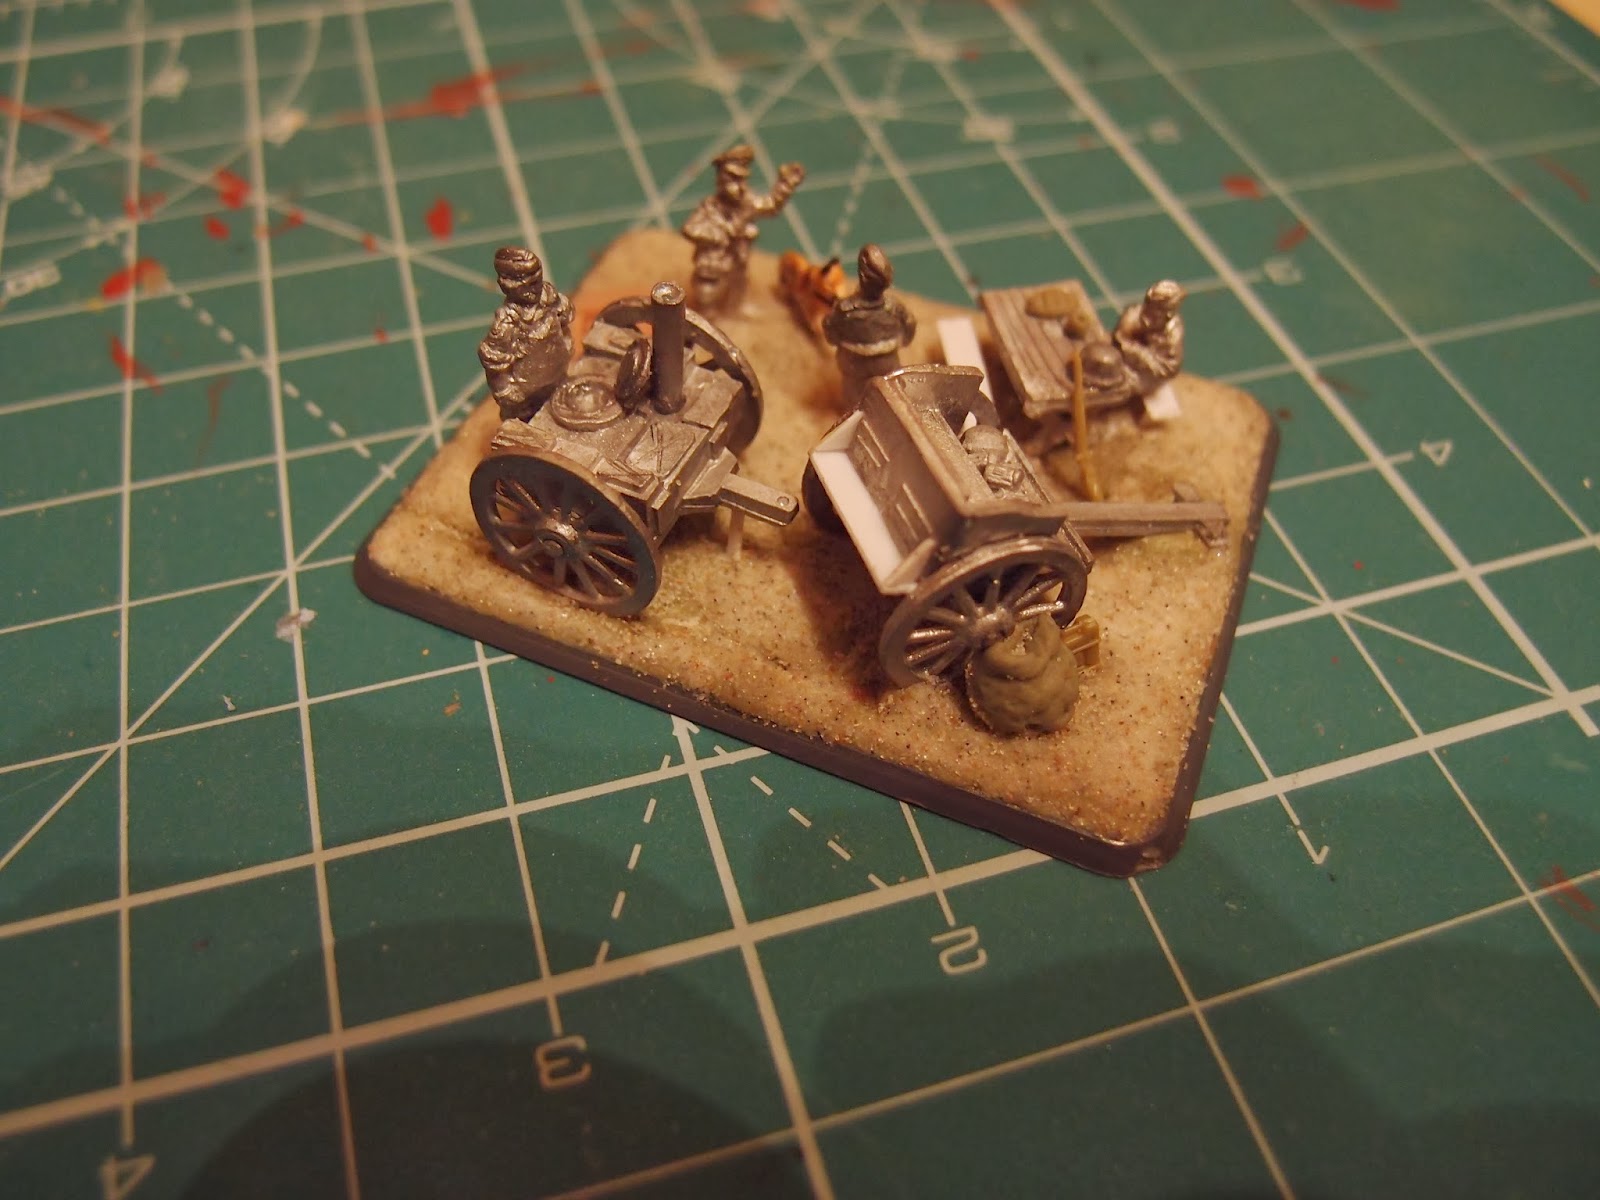
Scenic Objective Marker

What you can see below is the objective just before painting. I combined QRF set with couple of Battlefront’s figures, a little bit of PSC stowage and the dog from one of the H0 railway sets. In addition, I sculpted some of the equipment myself.


After painting it looks like that. I feel that my soldier will die for that objective with joy…


Sunday, January 19, 2014

Scenic objective marker: Munitionsschlepper 38

As you probably noticed I recently spent my (very limited) spare time on playing Battlegroup Kursk (BGK), however, I still keep my Flames of War army ready for combat. Today, I would like to write about my recent project that is dedicated to both games.

In BGK you have to take care about re-supplying your vehicles with ammunition. Frankly speaking it is a very important aspect of the game – especially for German players. For instance, Germans can take trucks and armored ammo carriers. Especially, the second type of vehicles gives Germans advantage. Trucks are easy to destroy, while armored ammo carriers are well protected from small-arms fire and can even survive hits from small caliber guns. To be honest, before we started to play BGK I was not aware that Germans used so many types of converted vehicles as ammo carriers.

I started to look for some models that could represent armored ammo carrier vehicles. I also thought it could be a good idea to build a simple scenic objective marker for Flames of War that will use the vehicle. Unfortunately, it is difficult to find such models in 15mm scale, because not many tabletop WWII games focus on the supply aspect. I found a set of StuG battery support vehicles produced by Forged in Battle that includes Sdkfz 252 supply vehicles. The main problem was that there were three vehicles in the box, but I only needed one. The second one was that according to the stats of the vehicle in BGK it seems to represent a converted tank. (Update: QRF has also Munitionsschlepper 38 in their range)

I started to investigate what types of ammo carriers German used during WWII. I found some that were built on the chassis of Panzer 38. I thought it is a good idea to convert a cheap Zvezda Panzer 38 kit to an ammo carrier (in Poland it costs less than 3 Euro). Unfortunately, it was difficult to find any original photos of such vehicles. I found two model kits in 1/72 scale, one produced by ATTACK and the second one by UM. They both represent Munitionsschlepper auf Fgst Panzer 38(t) Ausf. C. However, I wanted to look for original photos, and finally, I was lucky to find them at Wehrmacht history page.

The Zvezda Panzer 38(t) kit is really a model I could recommend. The casting quality and level of details is very good, although, some of the details casting is a little bit flat making it quite difficult to pin wash. You'll get a single, small sprue that contains only 6 pieces (plus a flag). It is extremely easy to assemble the model, what is quite important for wargamers. The only drawback is that you won't get any stowage or crew members. It won't be also easy to customize the vehicle, because hatches are casted in hull and turret.


The conversion of Zvezda model was really straightforward. I only had to drill a hole in the turret mounting-point and use a little bit of green stuff to model the coverage and remove hull MG leaving just its mounting point. I also used Battlefront’s artillery crew figures and some PSC stowage. To make the vehicle dual-purpose I added a magnet at the bottom of the model and another one to the scenic base. This enables removing vehicle once I play BGK and stick it to the base for Flames of War scenic objective marker. Moreover, I also added a magnet to one of my Zvezda Opel trucks, so it can be also used as an objective marker for BGK, when I use ammo carrier on table.