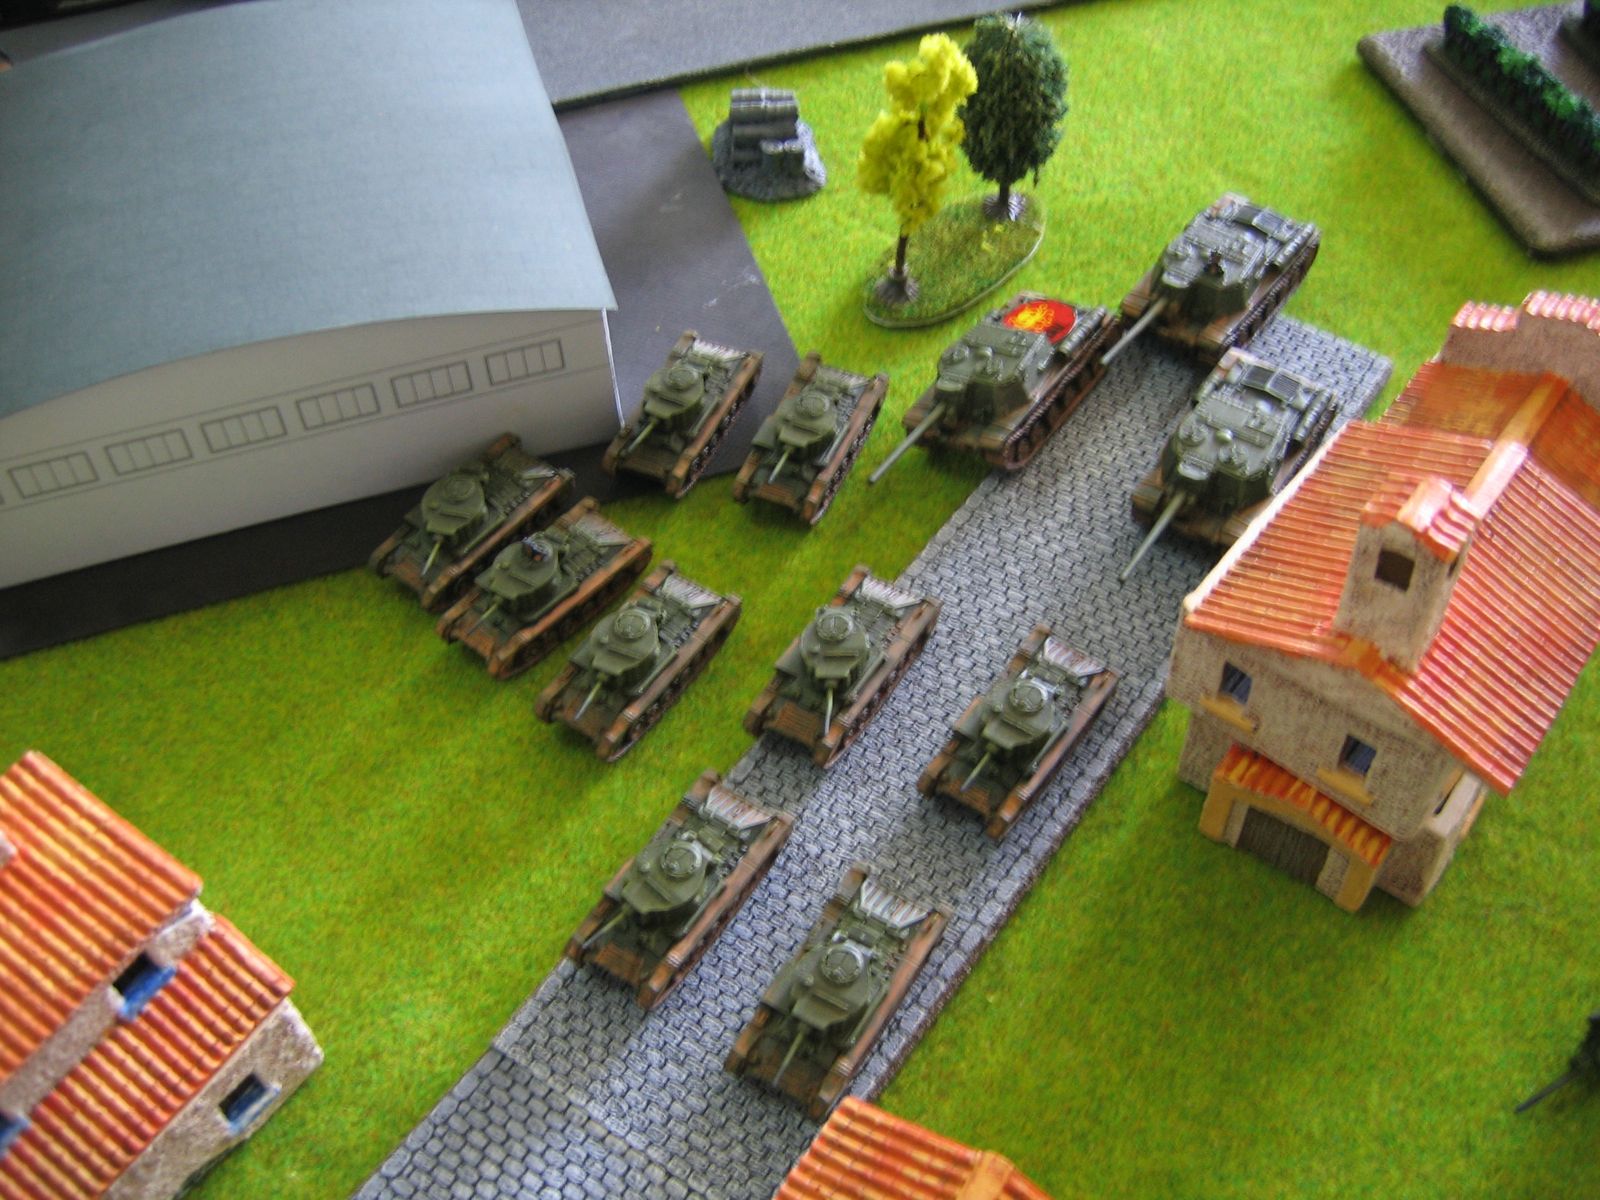
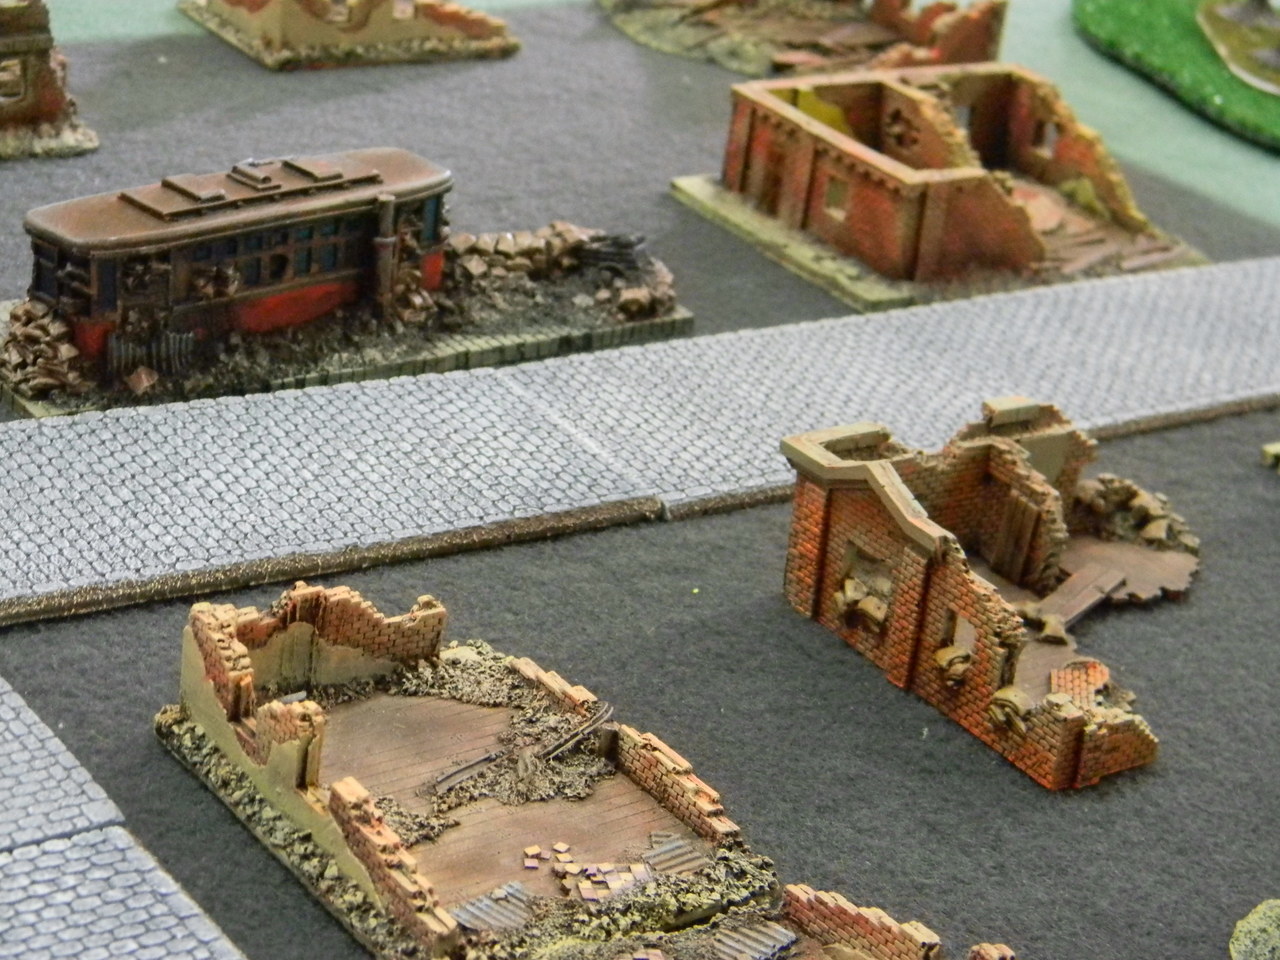
Like most inventions, big and small, this one begins with a story of someone being somewhat annoyed at a niggling little detail.
Once upon a time our local gaming group gathered for a Flames of War tournament: a few people came, set up the tables with some carefully-arranged terrain, took their forces out of their bags and prepared to play the first scenario. But lo and behold! As the time came for them to start placing their respective objective markers on the table there were few and far between players who had actually prepared any objective markers! So they scrambled into their bags for stand-ins and make-do's in the forms of awful raw large bases or Nebelwerfers and other units they were not planning on using that approximately fit the size of an objective marker. Others, even less well equipped, had to settle for putting some dice on the table or (the horror!) rough rectangles torn out from handy sheets of papers.
It is needless to say that all of these ad hoc solutions cause some sort of little trouble as they take their place on the field of simulated battle. Supernumerary troops tend to blend in with the fighting forces in the heat of battle and cause unwarranted confusion. Dice do not have anywhere near regulation dimensions and tend to get moved around easily and get scooped up as commanders load up their hands for an upcoming salvo. Flat gray bases look out of place and draw attention well away from the action by their sheer unadulterated ugliness. And torn out bits of papers compound that with their ability to get whisked away with even the gentlest breeze. All bad.
This peeve of mine developed into an acute gripe with repeated offences and finally I decided I had to act to save my feeble sanity. I wanted to be able to have objective markers that I could just hand out to people on tournaments and things, so they had to be (1) practical to be produced en masse so that I can just hand them out on tournaments, (2) pleasant-looking enough so that people would prefer them to their own stand-ins, and (3) regulation, so they could not object to them. Oh yeah... also (4) cheap, 'cuz do I look like I'm made out of money?!
I came up with some ideas, and talked them over with the mates, and I'm proud (moderately so, let's not get carried away here) to present the technology and final products below. The objective markers are cheap (a dozen for less than €5), easy to make, and look not unseemly. We have thoroughly tested them out in simulated combat and they proved to be quite adequate in their rôle.
This is what they ended up looking like, and below are moderately detailed instructions on how to make them.
Tutorial
What you'll need is this:
- Some of those cardboard backs of Flames of War blisters. You know, those that you never know what to do with, but the medals look too good to just chuck out?
- Transparent plexiglas (PMMA) or acrylic rectangles sized 65×50mm. The ones I used were 3mm thick, but I guess you could use thicker or thinner ones. They also had a coat of plastic on both sides which was very helpful. There are about a million companies dealing in plexiglas (at least there are in Poland) which makes it very easy to obtain. Plexiglas is just about the easiest material to worki with in general and to cut in particular, but you can avoid any of that anyway by having them cut it up all neat at the shop before they ship it to you.
- Transparent PVA glue. The brand I used was klej magic which is sold for use in the dark arts of bookbinding, decoupage, and arts-and-crafts in general.
- Other stuff: a sharp knife, a mat or something to cut things on, something heavy like a couple of books, possibly a couple of plastic bottle screw caps and maybe an old-fashioned popsicle stick. And if you're like me, a band-aid for when you have cut yourself with the sharp knife.
Important safety tips:
- Do not eat the PVA glue. I assure you the experience is not worth the indigestion.
- Do not cut yourself. It hurts and the blood messes up the glue.
- Clean up after yourself. Thus you limit the risk of injury from your significant other.
OK, let's get the show on the road.
Stage 1. Plexiglas goes on the blister card
Step 1. Remove all the plastic from the cardboard blister gently, so as not to damage the cardboard. Try not to bend or scratch the surface, because this will cause you some grief later on.

Step 2. Remove the coating from one side of the plexiglas rectangle. Leave the other side coated for now: it will help keep the surface clean and relatively free of pesky scratches and notches as we muck about with glue and knives.
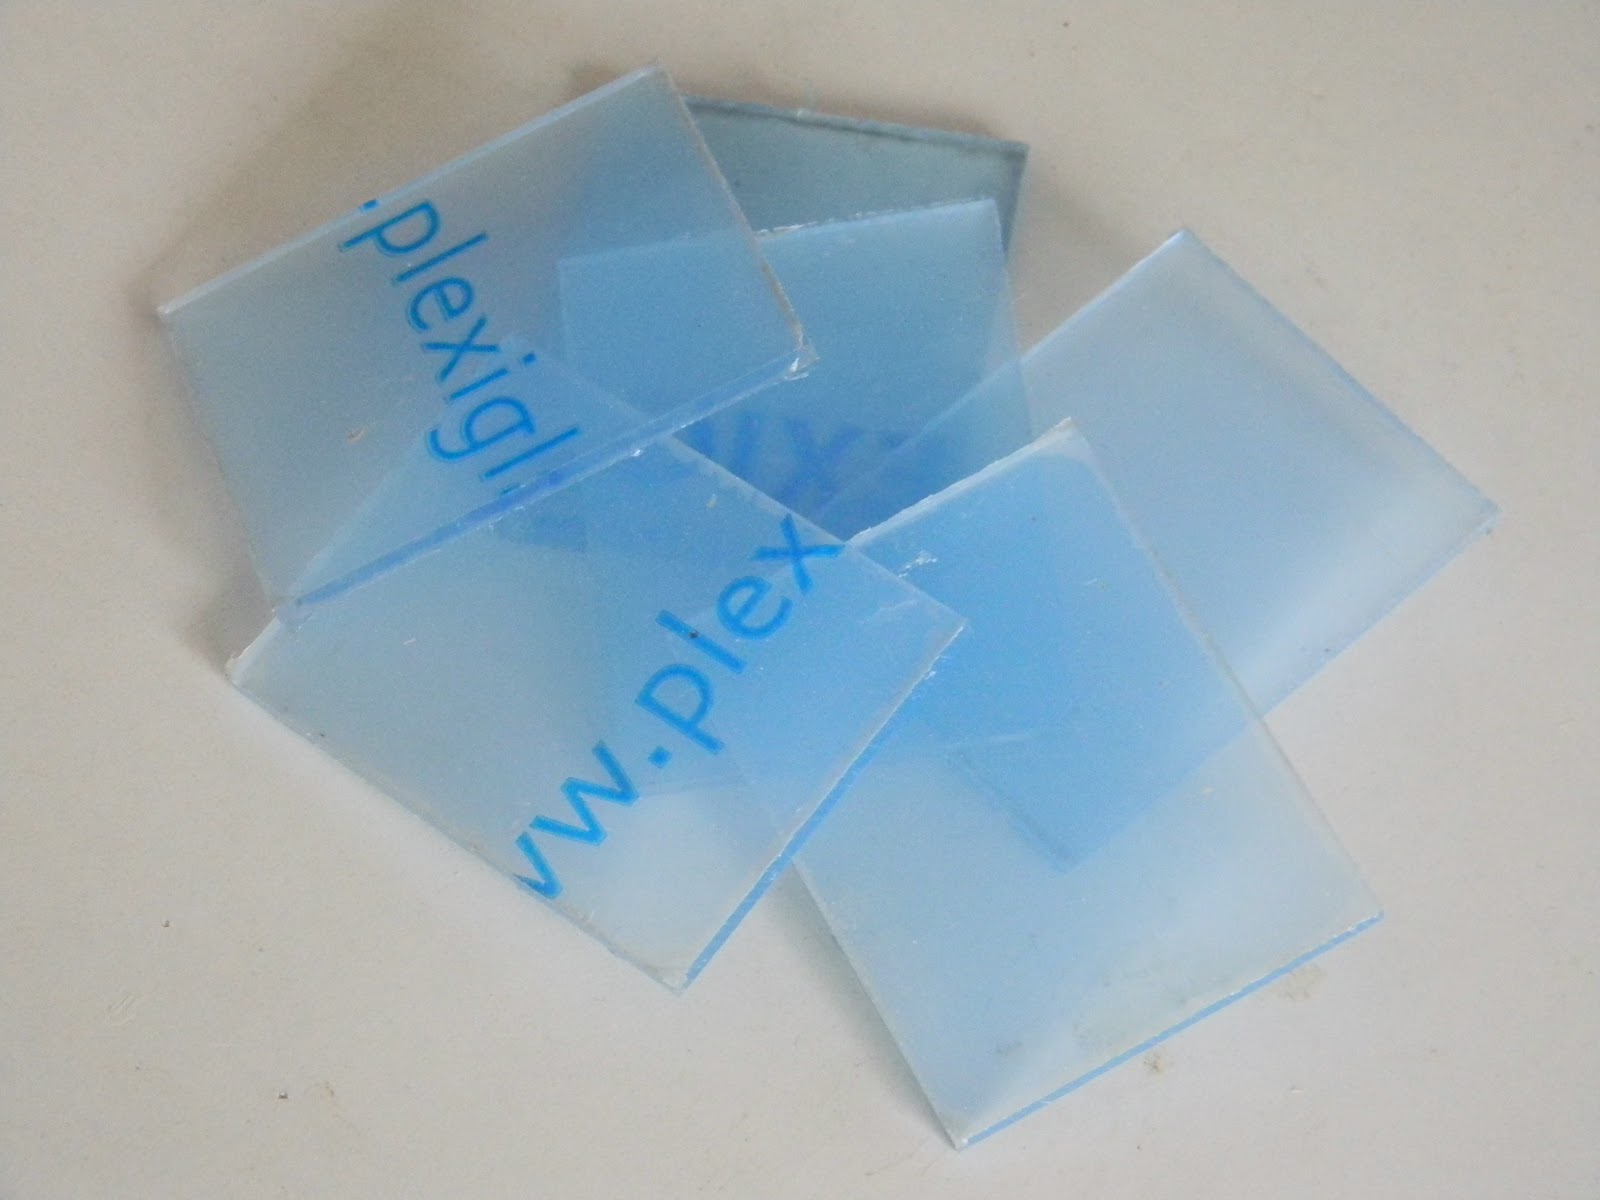

Step 3. Next, pour about a half to one tablespoon of PVA glue onto the cardboard blister, onto the side that you want to be visible on the objective marker. Excess glue is OK.

Step 4. Then, using a popsicle stick, a butter knife, or a pencil, or whatever, spread the PVA glue more-or-less evenly across the surface of the blister cardboard. You want to end up covering an area slightly larger than your plexiglas rectangles. The fewer air bubbles you manage to induce while doing this the easier two steps ahead will be.

Step 5. Then, plop... um, I mean, carefully place the plexiglas rectangle onto the middle of the area covered by glue. The plexiglas should be placed with the bare side toward the cardboard (so the coated side is on top and away from the cardboard).

Step 6. Finally, apply pressure to force out excess glue and air bubbles from under the plexiglas rectangle. You can do that on a flat surface applying pressure from one side, or in your hands applying it from both sides. You can also readjust the rectangle at this point, so that the image underneath is centered, it doesn't catch any unwanted text above, etc.

If you didn't introduce too many bends to the cardboard in step 1 or too much air to the glue in step 4 then you shouldn't have too much trouble now, but it isn't exact science and it takes a bit of practice to get right, so don't get discouraged if your first attempt is riddled with air bubbles, just give it another go.
Stage 2. The long wait
Step 7. Find a bit of shelf space or something where you can leave your little works of art to dry. Arrange your half-finished objective markers in neat rows. Mind so that the wet glue doesn't stick your little babies to the shelf.

Step 8. Put a bottle cap onto the center of each plexiglas rectangle. The object of this is to direct the pressure (which will be applied in the next step) to the middle of the plexiglas so that it continues to prevent air bubbles from forming in the corners.

Step 9. Put something heavy onto the whole thing. I used Norman Davies' Europe: it is not too bad as far as literature goes, but I did fail to persevere through some of the fragments, so I think it is heavy enough in lieu of some serious Dostoyevski.

And then wait.
Stage 3. Cropping
Step 10. When the glue underneath the plexiglas is mostly dry (most of it became completely transparent) but the glue on the sides is still wet, take a sharp knife and cut the unnecessary cardboard off. Crop closely to the plexiglas without leaving any cardboard sticking out even slightly.

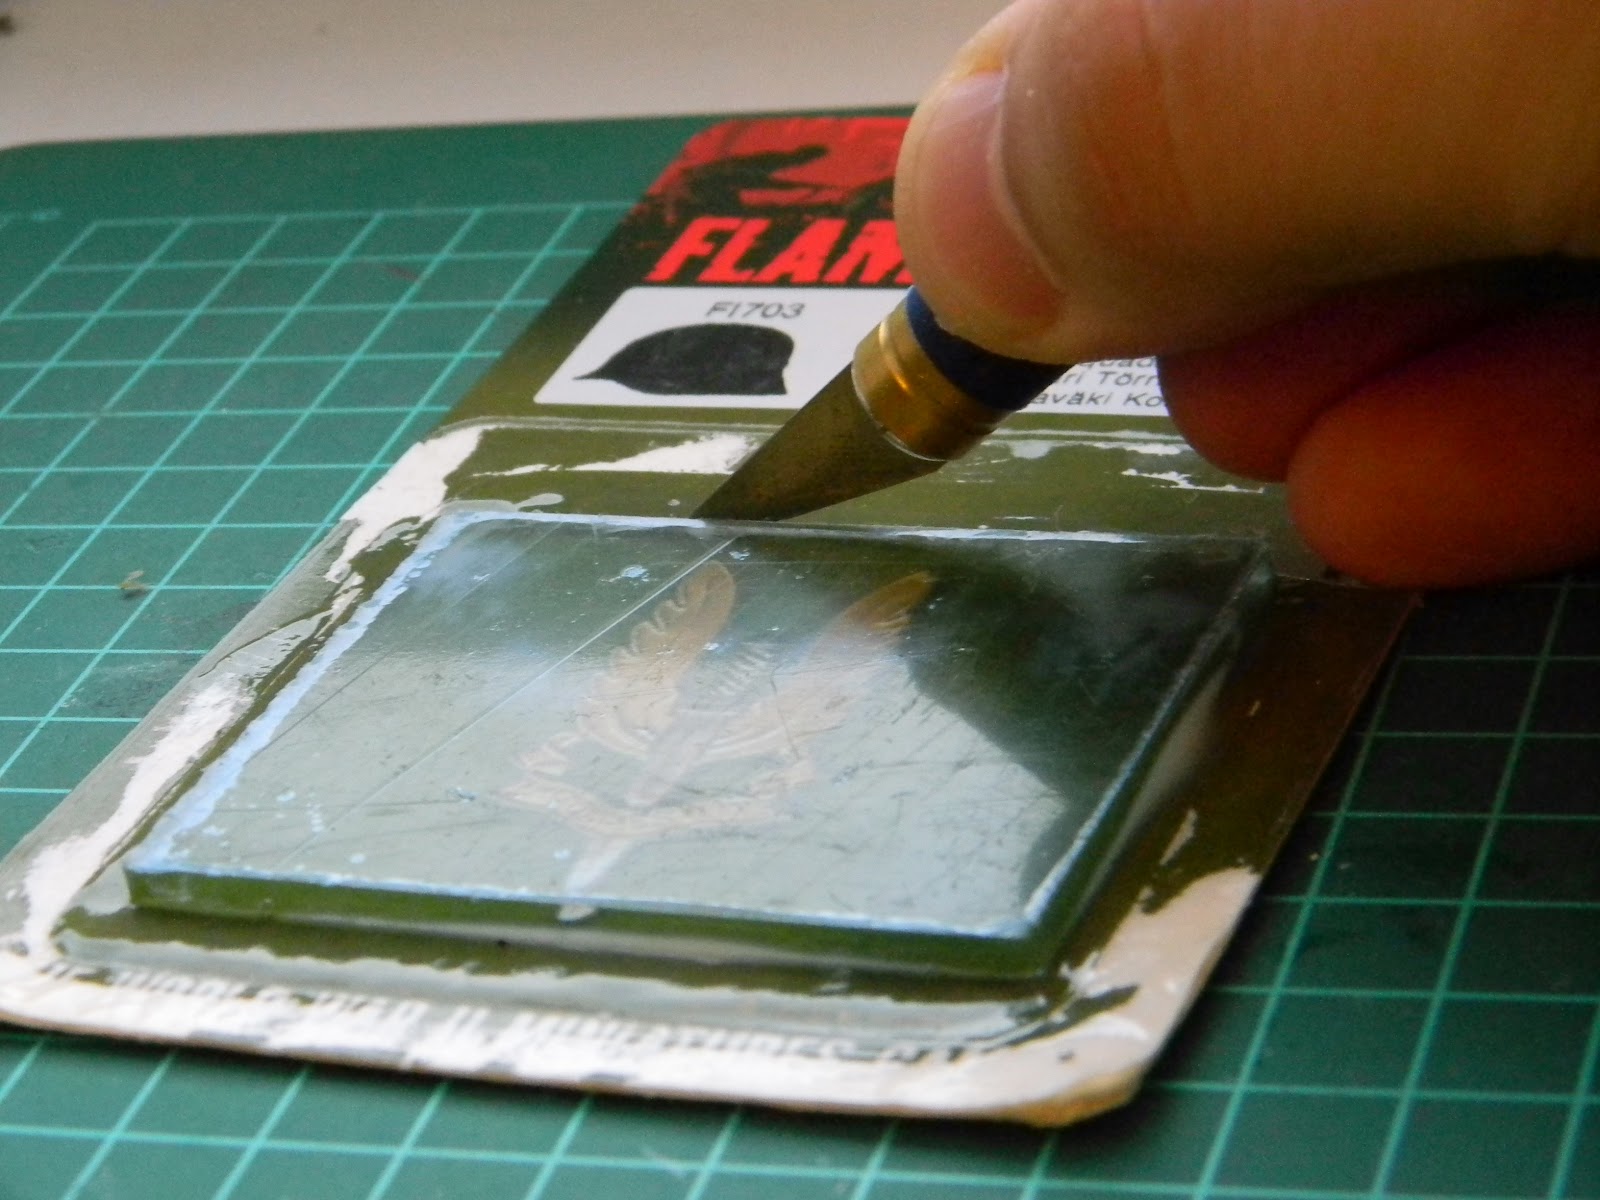

Step 11. Scrape the glue off of the sides of the plexiglas remove the plastic coating from the top.

Step 12. Wait for the glue to dry completely (become completely transparent.

Et voilà, you're done! Enjoy your crisp and shiny new objective markers!

Acknowledgments
Many thanks to Mirek for letting me post all this on his awesome blog and people from the gaming group (especially Radek and Łukasz) for handing me handfuls of ideas that finally led to perfecting this technology.
Kondziu
Kondziu, thanks for posting this nice tutorial! Mirek