Thursday, September 13, 2012

Scenic bail out and bogged down markers

As a fan of Steel Panthers computer game there is one thing I missed so much in FOW - the view of shocked crew running away in panic from their machine under heavy fire... In FOW we use tokens to mark crews that decided to temporarily give up their duties or vehicles that broke down. Wouldn't it be nice to have a scenic version of such markers? Why not?

Today I would like to give you a short report from making a bunch of such scenic markers for my German forces.

Bail out 

Making bail out markers is straight forward thanks to Battlefront's dismounted crew sets (e.g., German dismounted tank crew GSO196). All you have to do is to place couple of these guys on a nice base.

It is also a good idea to paint edges of the base to clearly mark that it is a marker and not a regular infantry base. For bail out markers I decided to paint red-white stripes. You can see the results in photo on the right hand side and couple more photos in Gallery at the end of the post.

Bogged down

When it comes to bogged down markers there is no ready to go solution in Battlefront offer. There is more room for new ideas :)

I decided to create three types of such markers:
  • track repairing - guys trying to repair the track of a tank;
  • rocky area - your vehicle came into a pile of rocks and one of the crew members has to navigate it back to the safe ground;
  • too much mud will make you stuck - a simple universal marker.

First of all we need to prepare some spare parts of vehicles and crew members. Probably all of you have many of these things that were not used.


Now it is time to convert figures, so they look more like tank crew members. I used the German soldiers from the artillery group and swaped their heads with tank commanders from tank blisters.


Now, it is time to plan the layout... For the mound of mud I decided to use a piece of foam to model the shape, because it should make an impression that vehicle stucked in mud for good.


Now, it is time for basing. Standard procedure. Sand plus PVA glue. To model mud I use the sand from sea side beach. It has really tiny grains.


Base coat with chocolate brown and dry brush with beige brown and german cam. beige.


A little bit of oil-paints wash (a mixture of black and brown)...


Mud effect. I decided to model clay mud. For that purpose I use Vallejo natural sienna pigment. The process takes two stages. First, I mix the pigment with the matt varnish and goes all around. When it dries it looks like dry clay. At the top of the mound I would like to have fresh wet clay. The solution is simple. Mix pigment with gloss varnish and apply it only on the top of the mound.


And this is how the markers look just before painting the edges to black-yellow stripes...


Gallery

Couple of ready to use markers...


Sunday, September 2, 2012

SS-Anti-Aircraft Platoon: 3.7cm Flak43

Since the introduction of the new aircraft rules in Flames of War V3, none of the German super-tanks can feel safe at the battlefield...
Well, it's high time to invest in anti-aircraft protection my friends. You can do it either by having your own aircrafts ready to intercept enemy planes or think of some AA guns.
When you play 2nd or 12th SS division,  the first possibility is not an option as you can't take air support for this units. Don't worry,  you can take a very useful SS-Anti-Aircraft Platoon equipped with great 3.7cm AA guns. The platoon is quite cheap, because you will pay 115 points for 3 guns and additional 5 points for trucks. So it is an inexpensive way to increase the number of platoons in your SS infantry company. The second thing is that it could support your infantry in defense. The 3.7cm gun has AT 6 with ROF 4 and FP 4+. As a result, it can effectively knock out light vehicles and bail / destroy most of medium tanks in defensive fire. Of course it is also marvelous against planes. It can easily protect your troops even from flying tanks. The platoon in Earth & Steel has additional advantage. For 5 points you can add Opel Blitz trucks, which make the Flaks portees. It was a very useful option for my SS Panzerpioniers, because I could also take AA guns with my half-tracks in attack. Instead of poor 5+ save, your opponent has to pass a FP test. However, a small remark here, you have to protect your portee guns from artillery fire (still 5+ save).

In order to model the platoon I bought a blister of Battlefront's SS 3.7cm Flak43 (GE548) and three Zvezda 1/100 Opel Blitz trucks.

The Battlefronts guns are sculpted quite nice, however, the gun-shield is a little bit tricky to construct. You have to glue two parts together. You can also think about adding some magnets to enable gun elevation and rotation.
As you can see below each gun is composed from seven parts. You will have also four crew members.


I didn't want to damage the trucks by glueing any magnets, so I cut a piece of blister package that fits exactly to the truck cargo compartment and glued a magnet there. Works like a charm :)


Gallery

Couple of photos below...


Wednesday, August 15, 2012

Airbrush and air compressor - a new toy and few tips for beginners

Piston type air compressor TC-20T
I was recently a little bit upset with my old air compressor, which resulted in rapid impulse for purchasing a new one.
Before I decided to buy a new one, I went through a painful process of  collecting information and making the decision.
Why painful, you may ask? Actually, I have a feeling that the same problem appears whatever device you would like to buy - no matter if it is a photo camera or an air compressor. Once you decide to try a new thing, you have to jump into a new world full of new terms. There are endless numbers of products features you are not sure you are going to need... As a result you decide to visit one of the forums to ask experienced people for help (it is always better to learn on somebody else mistakes). And then it starts... You give a simple, generic question "what is the best option for a beginner with limited funds." In response you receive tons of useless answers, i.e., some people try to show how experienced they are talking about their (ultra great) devices; other smash your proposal (if you gave one) without giving any reasonable alternatives; finally, what I liked about the problem with choosing an air compressor, some people suggested to build one yourself -"look I made one from a fridge compressor" - needless to say - a great piece of advice for a beginner ;)

OK, so after relieving my frustration - ehhh I should say motivating my post - I decided to write a short post about airbrushes and air compressors from my (very limited) experience. It is always important to look at such devices in the proper context. I would like to look at them from a perspective of wargammer modeling in small scale (15mm) - and not from a point of view of professional modeller who works with large scale models. It will cover only basic things that I've learned so far - so from the beginning sorry for being subjective. If you have your own experience go ahead and share with use :)

Airbrush

If you just start your adventure with airbrushing, I would recommend you to buy a simple, cheap, China-made airbrush. Why? It takes time to learn how fragile some of the airbrush components are. It often takes "one airbrush" to learn ;)

I bought K53 Double action airbrush for around €14 (the symbol might be different depending on providers), and frankly speaking it seems a reasonable choice for small-scale wargaming painting. It has a double action mechanism, which means that you press a trigger to reveal air and then pull the trigger to apply paint. I think that nearly all China-made airbrushes have this mechanism nowadays. In my airbrush the fluid cap is small (2ml), nevertheless it seems quite enough for 15mm models. When we talk about paint caps, there are two possible mounting points: above (e.g., mine) and below. The second options is frequently criticized by other people (however, I didn't have a chance to try one). Finally, you have to choose a nozzle diamater. For 15mm scale I would recommend 0.2mm.

My cheap - but still good enough airbrush
As I told you there is a high chance that you will damage your first airbrush. I did so even though I watched a tutorial movie with a guy that advised to proceed with caution while mounting a nozzle. I was really careful couple of times, but after a while I used to much force and I broke the thread of the nozzle. Without this tiny part the whole airbrush is useless :)

Advice #1: buy a cheap airbrush - China-made airbrushes are really cheap, but good enough to do the job. Moreover, it is highly probable that you will broke your first one. It is a very delicate device and you will need some time to learn that well ;) I destroyed the first one, and had to buy one more :)

Advice #2: seal threads with teflon tape - you don't want to reduce air pressure because of some air leakages. Remember to seal the connection between the air compresor and airbrush.

Advice #3: keep your airbrush clean - Usually when you finish painting you would like to skip that part. However, it pays off. Only clean airbrush works, and if you don't clean it just after the painting, you will have to put much more effort further on. You can also buy a special set of brushes and wires to help in cleaning your airbrush - I found them useful, but if you clean airbrush after each painting you can live without it.

Jar for wastes

Very handy thing because of two reasons. You have a place to put your airbrush on, and sometimes you can use it to get rid of unused paint that is inside the airbrush. I bough mine for around €10.

Air compressors

Your airbrush needs the compressed air to produce a stream of paint. There are plenty of air compressors models available that can do the job... Generally, we could divide them into two groups by taking into account the type of mechanism used to produce the air pressure: membrane and piston based. Instead of air compressor you can also use some other sources of compressed air like air cans. Personally, I don't think they are worth they price. I love to spent as much time as I need to paint models, and I wouldn't like to be limited by the amount of air I have in the can.

My first air compressor was a membrane-based one - AS-200, which costed me around €25. Here is a short spec of it:

  • efficiency: 10 [l/min]
  • pressure: 28 [psi] = 1,91 [atm] = 1,93 [bar] = 1,97 [kg/cm2]
  • max. time of work: 30 [min]
  • dimensions: 135 x 105 x 60 [mm]
  • weigh: 0,59 [kg]

It is a very small black box, which I find to be its main advantage. OK, and now time for disadvantages... It is quite noisy (although people say that membrane-based compressor are quiet). Of course it is not a type of noise you can't stand, but it is a high-frequency one which I personally don't like (a kind of loud "buzz" sound). The second problem is the max. time of continuous work. If you are a wargammer you usually paint whole platoons at once. This takes time. It's really annoying when you feel that you are loosing air pressure somewhere in the middle of your work. The next problem is the lack of reduction and pressure measurement. You never know how much pressure you have, and you can't control it. This is a huge disadvantage in my opinion.

For my new compressor I chose the Royal mini air compressors TC-20T for around €66. It has a following spec:
  • efficiency: 23 [l/min]
  • air tank 3,0 [l]
  • continuous pressure control 0-4 [bar]
  • max. time of work 20 [min]
  • dimensions: 340 x 150 x 320 [mm]
  • weight 6 kg

As you can see it is more than twice more expensive, but I have to say it is worth its price.
So what are the main benefits? First of all it is really quiet - I mean "quiet". You can easily use it at night. What is more it has a 3l air tank. Whenever, compressor fully fills the tank, it turns off for a while. It gives a couple of benefits. First of all, you can work in complete silence for a while. Moreover, it increases the max. time of work visibly (I have never had a problem with the max. time since I started using it). Finally, it gives you the airflow with constant pressure. There can also find models without a tank, but I really recommend you to buy one with a tank.
The second feature which is obligatory in my opinion is the reduction with the pressure measurement. It gives you a nice control over the air pressure. For instance, I use the Vallejo primer which is a little bit to thick. I don't want to dilute it too much, so I can easily increase the pressure and find the optimal settings to achieve a nice stream of the paint.

Advice #4:  Buy a good enough compressor from the beginning -  Don't waste money on a cheap compressor. If you are not sure whether you will like airbrushing, then, I'm gonna tell you that as a wargamming enthusiast you will love it! So, better wait for a while and collect more money to buy a resonable one. 

Advice #5:  Buy a piston type air compressor - It's totally subjective point of view, but from my experience piston type compressor are just better.

Advice #6:  Invest in tank if you can - An air tank is a really useful thing in air compressor. It doesn't increase the price of compressor much, but it makes it a real monster :)

Advice #7:  Air pressure reduction with measurement is obligatory - Make sure your air compressor has a reduction mechanism. It will help you much.

OK, that's all I wanted to share with you for now. If you have your own experience with airbrushes, compressors, or other supporting devices go on and share with us.

Wednesday, August 1, 2012

Mass Producing Objective Markers

Like most inventions, big and small, this one begins with a story of someone being somewhat annoyed at a niggling little detail.

Once upon a time our local gaming group gathered for a Flames of War tournament: a few people came, set up the tables with some carefully-arranged terrain, took their forces out of their bags and prepared to play the first scenario. But lo and behold! As the time came for them to start placing their respective objective markers on the table there were few and far between players who had actually prepared any objective markers! So they scrambled into their bags for stand-ins and make-do's in the forms of awful raw large bases or Nebelwerfers and other units they were not planning on using that approximately fit the size of an objective marker. Others, even less well equipped, had to settle for putting some dice on the table or (the horror!) rough rectangles torn out from handy sheets of papers.
It is needless to say that all of these ad hoc solutions cause some sort of little trouble as they take their place on the field of simulated battle. Supernumerary troops tend to blend in with the fighting forces in the heat of battle and cause unwarranted confusion. Dice do not have anywhere near regulation dimensions and tend to get moved around easily and get scooped up as commanders load up their hands for an upcoming salvo. Flat gray bases look out of place and draw attention well away from the action by their sheer unadulterated ugliness. And torn out bits of papers compound that with their ability to get whisked away with even the gentlest breeze. All bad.

This peeve of mine developed into an acute gripe with repeated offences and finally I decided I had to act to save my feeble sanity. I wanted to be able to have objective markers that I could just hand out to people on tournaments and things, so they had to be (1) practical to be produced en masse so that I can just hand them out on tournaments, (2) pleasant-looking enough so that people would prefer them to their own stand-ins, and (3) regulation, so they could not object to them. Oh yeah... also (4) cheap, 'cuz do I look like I'm made out of money?!

I came up with some ideas, and talked them over with the mates, and I'm proud (moderately so, let's not get carried away here)  to present the technology and final products below. The objective markers are cheap (a dozen for less than €5), easy to make, and look not unseemly. We have thoroughly tested them out in simulated combat and they proved to be quite adequate in their rôle.

This is what they ended up looking like, and below are moderately detailed instructions on how to make them.


Tutorial

What you'll need is this:
  • Some of those cardboard backs of Flames of War blisters. You know, those that you never know what to do with, but the medals look too good to just chuck out?
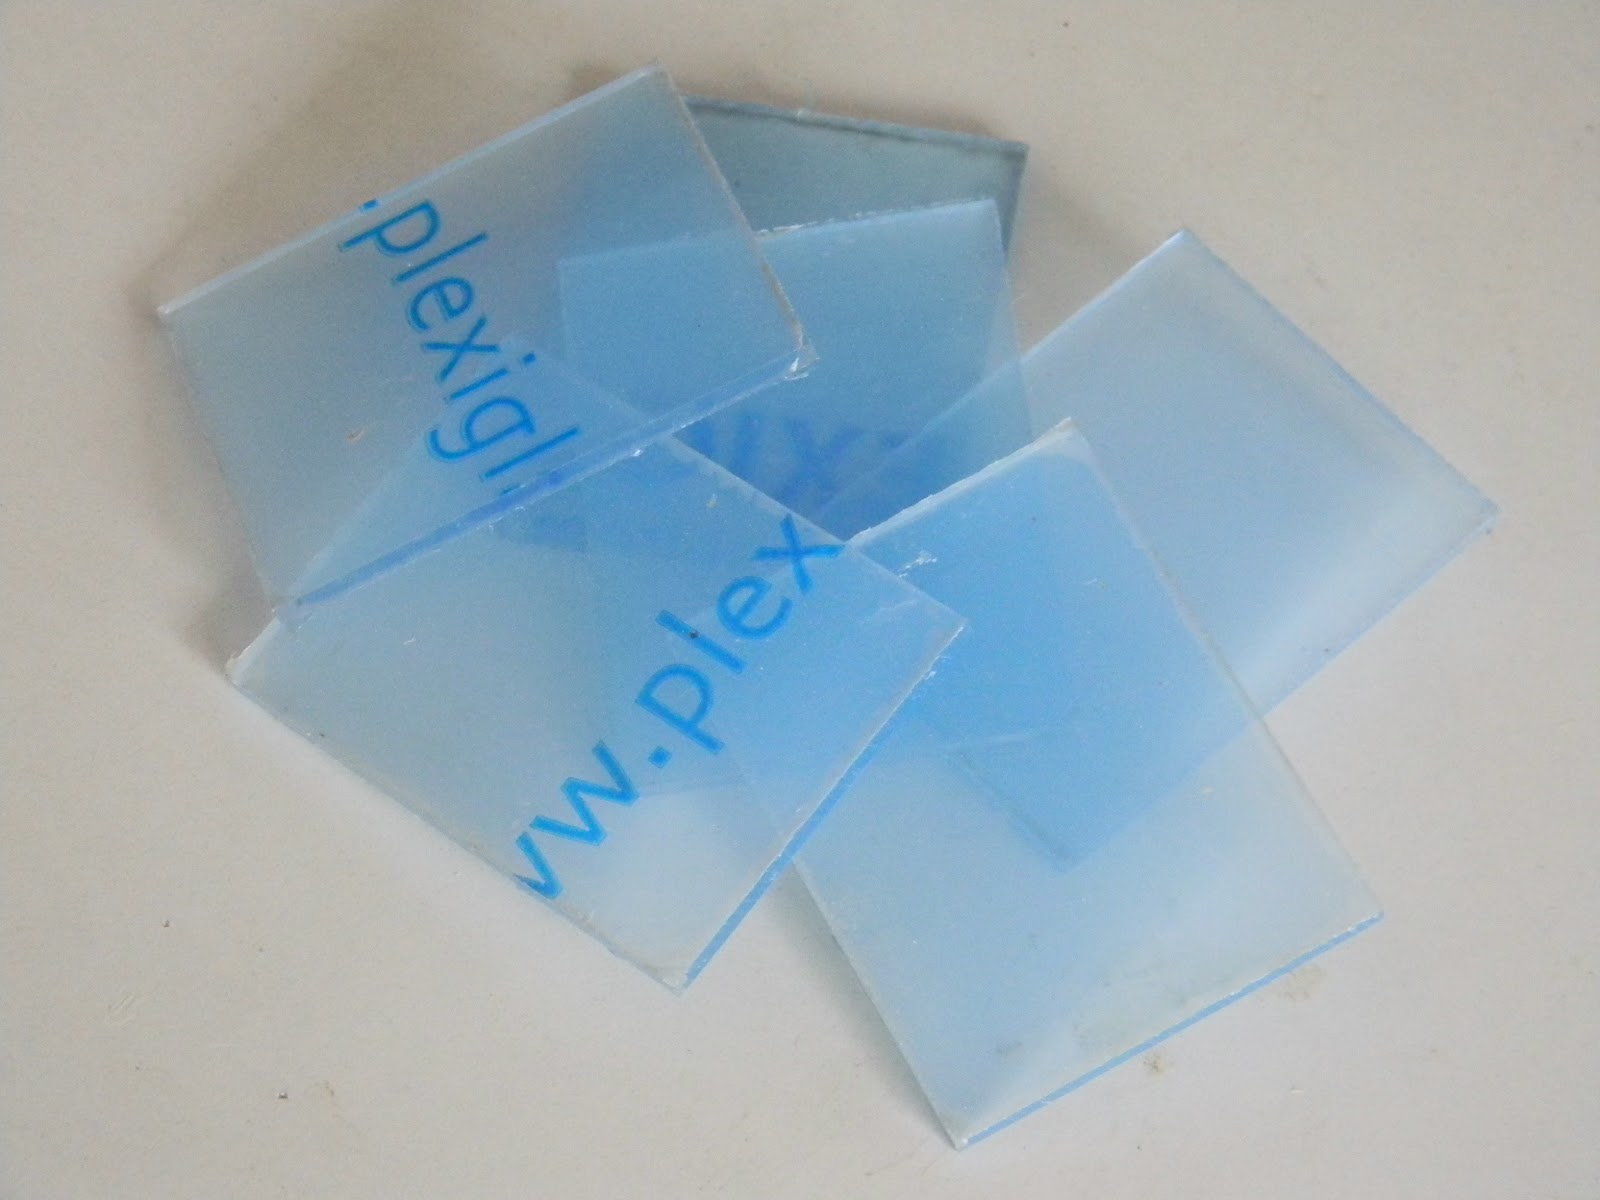
  • Transparent plexiglas (PMMA) or acrylic rectangles sized 65×50mm. The ones I used were 3mm thick, but I guess you could use thicker or thinner ones. They also had a coat of plastic on both sides which was very helpful. There are about a million companies dealing in plexiglas (at least there are in Poland) which makes it very easy to obtain. Plexiglas is just about the easiest material to worki with in general and to cut in particular, but you can avoid any of that anyway by having them cut it up all neat at the shop before they ship it to you.
  • Transparent PVA glue. The brand I used was klej magic which is sold for use in the dark arts of bookbinding, decoupage, and arts-and-crafts in general.
  • Other stuff: a sharp knife, a mat or something to cut things on, something heavy like a couple of books, possibly a couple of plastic bottle screw caps and maybe an old-fashioned popsicle stick. And if you're like me, a band-aid for when you have cut yourself with the sharp knife.
Important safety tips:
  • Do not eat the PVA glue. I assure you the experience is not worth the indigestion.
  • Do not cut yourself. It hurts and the blood messes up the glue.
  • Clean up after yourself. Thus you limit the risk of injury from your significant other.
OK, let's get the show on the road.

Stage 1. Plexiglas goes on the blister card


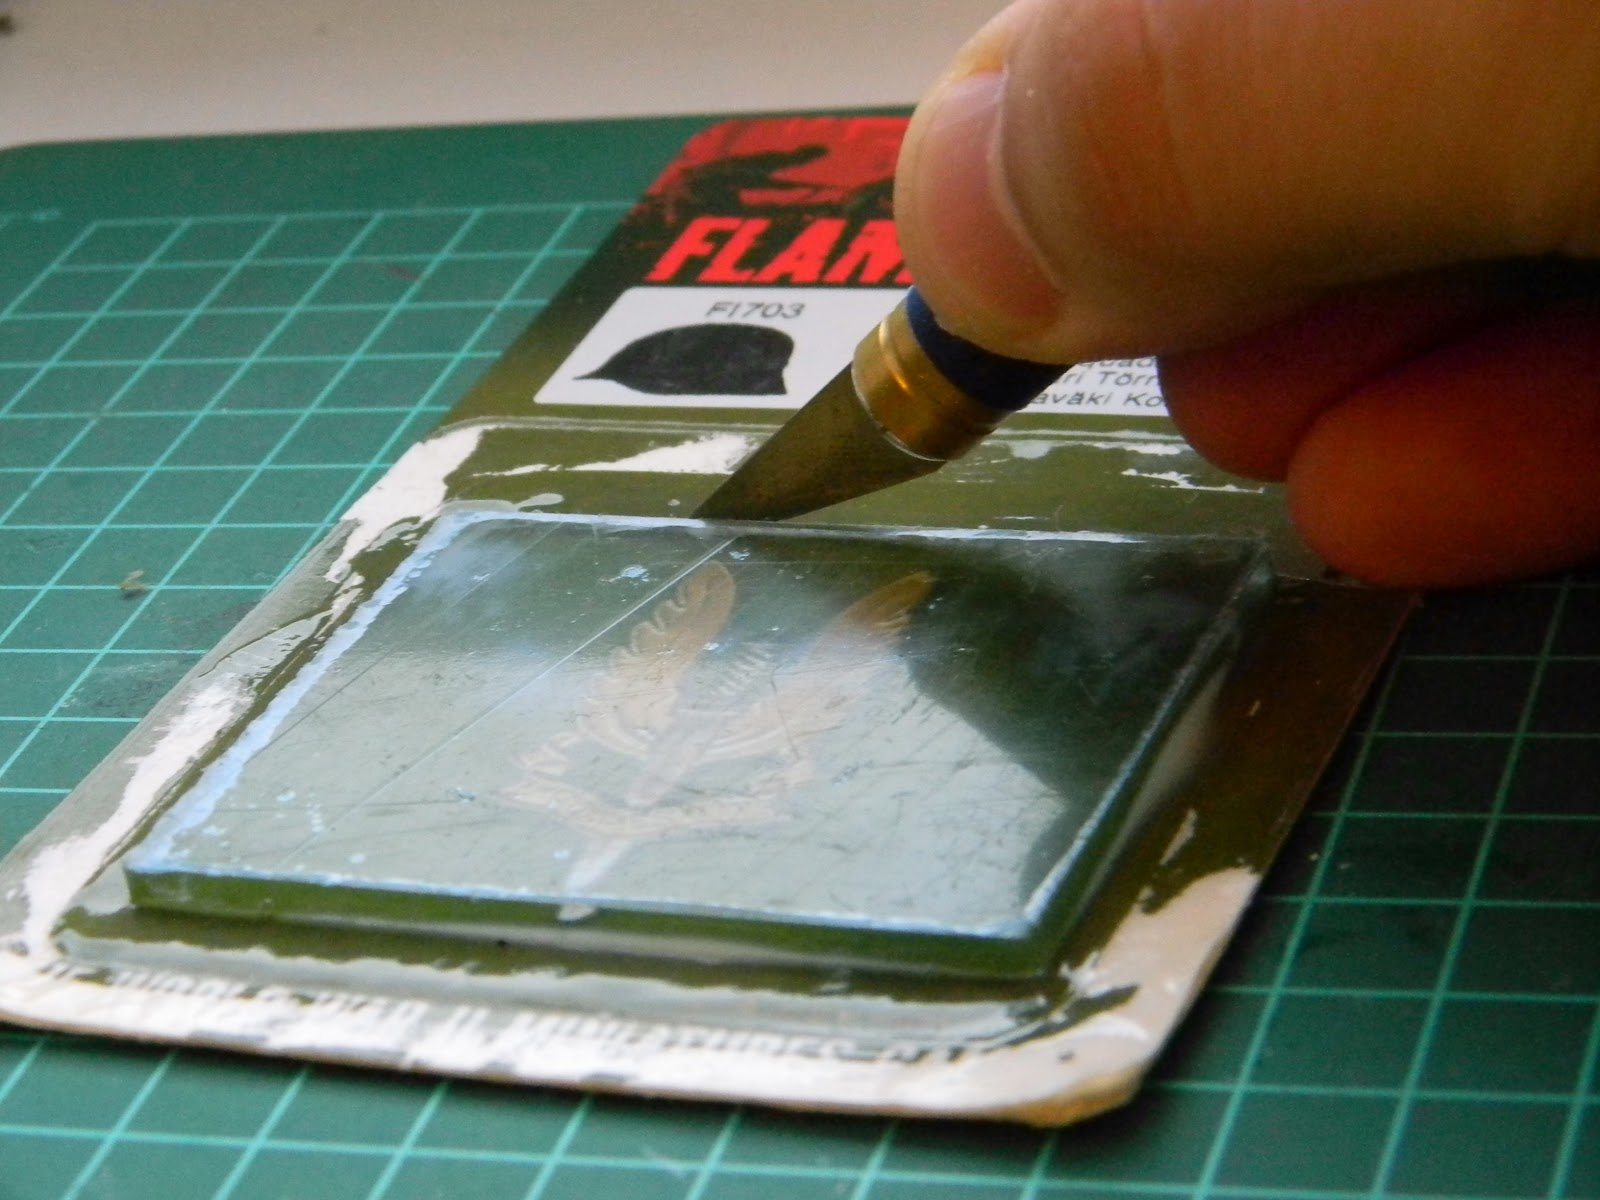
Step 1. Remove all the plastic from the cardboard blister gently, so as not to damage the cardboard. Try not to bend or scratch the surface, because this will cause you some grief later on.


Step 2. Remove the coating from one side of the plexiglas rectangle. Leave the other side coated for now: it will help keep the surface clean and relatively free of pesky scratches and notches as we muck about with glue and knives. 


Step 3. Next, pour about a half to one tablespoon of PVA glue onto the cardboard blister, onto the side that you want to be visible on the objective marker. Excess glue is OK.


Step 4. Then, using a popsicle stick, a butter knife, or a pencil, or whatever, spread the PVA glue more-or-less evenly across the surface of the blister cardboard. You want to end up covering an area slightly larger than your plexiglas rectangles. The fewer air bubbles you manage to induce while doing this the easier two steps ahead will be.


Step 5. Then, plop... um, I mean, carefully place the plexiglas rectangle onto the middle of the area covered by glue. The plexiglas should be placed with the bare side toward the cardboard (so the coated side is on top and away from the cardboard).


Step 6. Finally, apply pressure to force out excess glue and air bubbles from under the plexiglas rectangle. You can do that on a flat surface applying pressure from one side, or in your hands applying it from both sides. You can also readjust the rectangle at this point, so that the image underneath is centered, it doesn't catch any unwanted text above, etc. 


If you didn't introduce too many bends to the cardboard in step 1 or too much air to the glue in step 4 then you shouldn't have too much trouble now, but it isn't exact science and it takes a bit of practice to get right, so don't get discouraged if your first attempt is riddled with air bubbles, just give it another go.

Stage 2. The long wait


Step 7. Find a bit of shelf space or something where you can leave your little works of art to dry. Arrange your half-finished objective markers in neat rows. Mind so that the wet glue doesn't stick your little babies to the shelf.


Step 8. Put a bottle cap onto the center of each plexiglas rectangle. The object of this is to direct the pressure (which will be applied in the next step) to the middle of the plexiglas so that it continues to prevent air bubbles from forming in the corners.


Step 9. Put something heavy onto the whole thing. I used Norman Davies' Europe: it is not too bad as far as literature goes, but I did fail to persevere through some of the fragments, so I think it is heavy enough in lieu of some serious Dostoyevski.


And then wait.

Stage 3. Cropping


Step 10. When the glue underneath the plexiglas is mostly dry (most of it became completely transparent) but the glue on the sides is still wet, take a sharp knife and cut the unnecessary cardboard off. Crop closely to the  plexiglas without leaving any cardboard sticking out even slightly.


Step 11. Scrape the glue off of the sides of the plexiglas remove the plastic coating from the top.


Step 12. Wait for the glue to dry completely (become completely transparent.


Et voilà, you're done! Enjoy your crisp and shiny new objective markers!


Acknowledgments

Many thanks to Mirek for letting me post all this on his awesome blog and people from the gaming group (especially Radek and Łukasz) for handing me handfuls of ideas that finally led to perfecting this technology.

Kondziu

Kondziu, thanks for posting this nice tutorial! Mirek

Saturday, June 23, 2012

Tigers 1E: Let's do it again...

One of good points about writing a blog is that you can easily look retrospectively in the past to observe how things changed in time.

For instance, I like to look at my previously painted models to compare how I used to paint them and how I would do it today. The bad thing is that I usually instantly want to repaint all of them. One of break-through points that made me thing about re-painting models was the addition of an airbrush. It completely changed the way I paint German armor. 

I decided to re-paint one by one ale the models I really liked. I will  try to report you about the progress, so you can assess whether some progress in painting technique was made ;)

I started with the first model I have ever painted - the mighty Tiger 1E. When I was painting it in February 2011 I tried to use all the techniques I could find in web (e.g., pin wash, pigments). I was quite happy with the results then, but I quickly realized how many mistakes I made while painting ;)

This time I tried to make it better :) First I had to strip the paint from the model. It was really painful job - next time I think I'm going to seriously consider buying a new one ;)

The photo you see below has now some historical value ;) It is the Tiger as it looked before and after finishing re-painting.

The Tiger before re-painting (painted in February 2011)

The Tiger after stripping the paint

The same Tiger after re-painting (painted in June 2012)

The same Tiger in action
Which one you like more? ;)